Short answer:
In DaVinci Resolve, you can grab and share grade stills straight from the Color page—no exports, no screenshots needed. Right-click your viewer, hit Grab Still, then pull it from the Gallery. Two clicks. Done.
Most beginners skip this step—then burn 20 minutes fixing mistakes that never needed to happen.

The Problem with How Most People Do This
You finish a grade. Client wants approval before you continue. You’re left with three options:
- Screenshot the monitor with your phone
- Export a full-res frame from the Deliver page
- Render a short clip just to show a color reference
Each one stalls you. Screenshots capture your UI and OS color profile — they’re useless for approval. Rendered exports eat into your delivery window.
The fix already lives inside Resolve. Almost nobody finds it.
The Gallery stills workflow on the Color page gets you approval shots fast — and it backs up your grade at the same time.

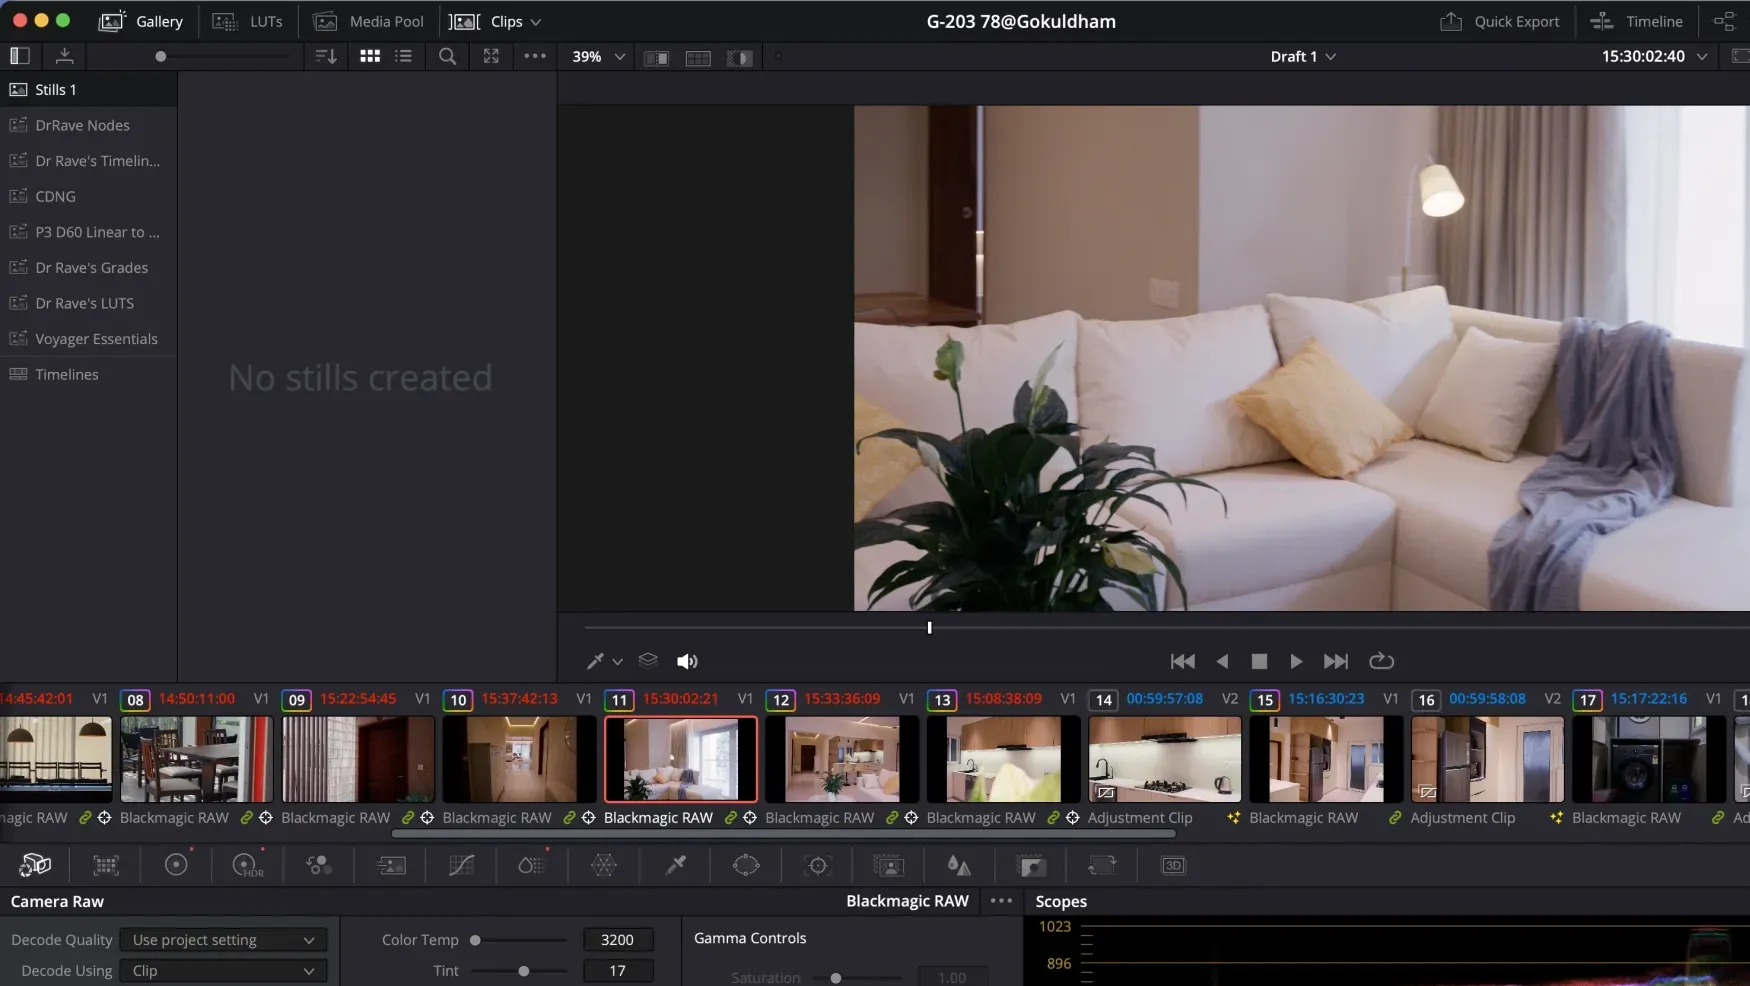
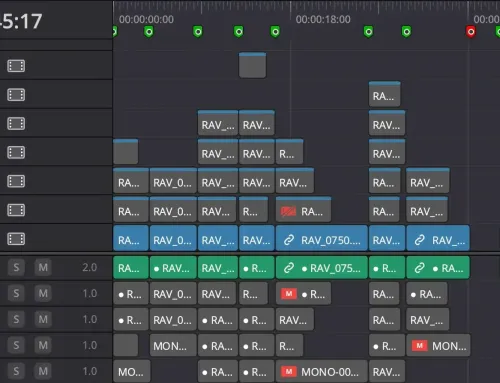
Where to Find the Stills Tool in DaVinci Resolve
Everything happens on the Color page. Not Cut. Not Edit. Color.
- Open the Color page with Shift + 6
- The top-left panel is your Gallery
- Can’t see it? Click the Gallery icon or hit View > Show Gallery
The Gallery holds stills from your current project and any albums you’ve saved. Your PowerGrades live here too — that’s a conversation for another day.
👉 New to the Color page layout? What Is HDR in Video, and How Do I Use It in My Workflow? walks you through how Resolve actually processes color data.

How to Grab and Share Grade Stills (The Actual Method)
This is the two-click method. Follow it exactly.
- Step 1 — Grab the still: Right-click anywhere on the image in the Color page viewer and select Grab Still. The still saves to your Gallery instantly — no dialog box, no file path required.
- Step 2 — Share from the Gallery: Right-click the still in the Gallery panel and select Export Still. Pick JPEG or DPNX, then save to a folder or drag directly into an email or Slack message.
That’s it. No render queue. No timeline export. You get a graded, accurate still ready to send.
Grab All Stills — right-click the viewer and pick this to pull a still from every clip on your timeline automatically. Send a full sequence overview to your client in one move.
Grab Missing Stills — only pulls stills from clips that don’t have one yet. Run this after making changes so you don’t duplicate what’s already there.
Always grab stills from the Color page viewer — not a screenshot. Screenshots show your monitor’s display, not your actual grade. And your monitor probably isn’t calibrated anyway.
Building a Client Approval Workflow Around This
Know the stills tool? Build your approval loop around it.
- Grade your hero clips first — the shots that define the look: opening frame, key interview, signature scene
- Pull stills from those clips only — don’t dump 80 stills from a 3-minute edit
- Export as JPEG and drop them into a shared folder (Google Drive, Frame.io, Dropbox — your call)
- Rename them clearly — Resolve defaults to timecode naming. Change it: Scene01_GradeA.jpg
- Get written sign-off before you grade the rest of the timeline
This protects you. A client tries to demand changes after delivery? You’ve got a timestamped still with their approval attached. That’s your shield.
👉 How to Automatically Organise Your DaVinci Resolve Media Pool — keeping your project structured makes this workflow even faster.
A Simple Recipe
- Open the Color page in DaVinci Resolve (Shift + 6)
- Navigate to a graded clip on your timeline
- Right-click the viewer — select Grab Still
- To grab all clips at once: right-click viewer → Grab All Stills
- Open the Gallery panel (top-left of Color page)
- Right-click your still → Export Still
- Choose JPEG format, save to your client folder
- Rename the file before sending (timecode names mean nothing to clients)
- Send via Drive, Frame.io, or email — and get written approval before continuing
The Big Truth
A professional color workflow stops the endless approval cycles that drain your margins. You need to nail the grade, yes — but more importantly, you need clean sign-off the first time.
Set up your Gallery stills habit now, before your next client delivery.
You’ll shoot footage for weeks. You’ll color-grade it. You’ll deliver the final cut—and realize you grabbed zero usable stills for portfolio work, social proof, or behind-the-scenes content.
This happens every time you don’t build the habit first.
The fix is stupidly simple: mark three or four frames during your editing session. Screenshot them. Drop them in a folder labeled with the client name and shoot date. Done.
Do this before you export your final file. Before you invoice. Before the project lands in your archive and vanishes into the ether.
Why now? Because you’re about to shoot again. Right now, you still remember the last shoot vividly enough to spot the moments that worked—the light, the composition, the emotion. In two weeks you won’t. You’ll be deep in color correction thinking only about technical specs.
Build the habit while the work is fresh. Three stills per project. Grab them during the editing pass, not after. You’ll have gallery images that actually matter instead of spending hours scrolling through timeline screenshots later wondering which frame was which.
Your next client delivery becomes your next portfolio win.
Leave A Comment